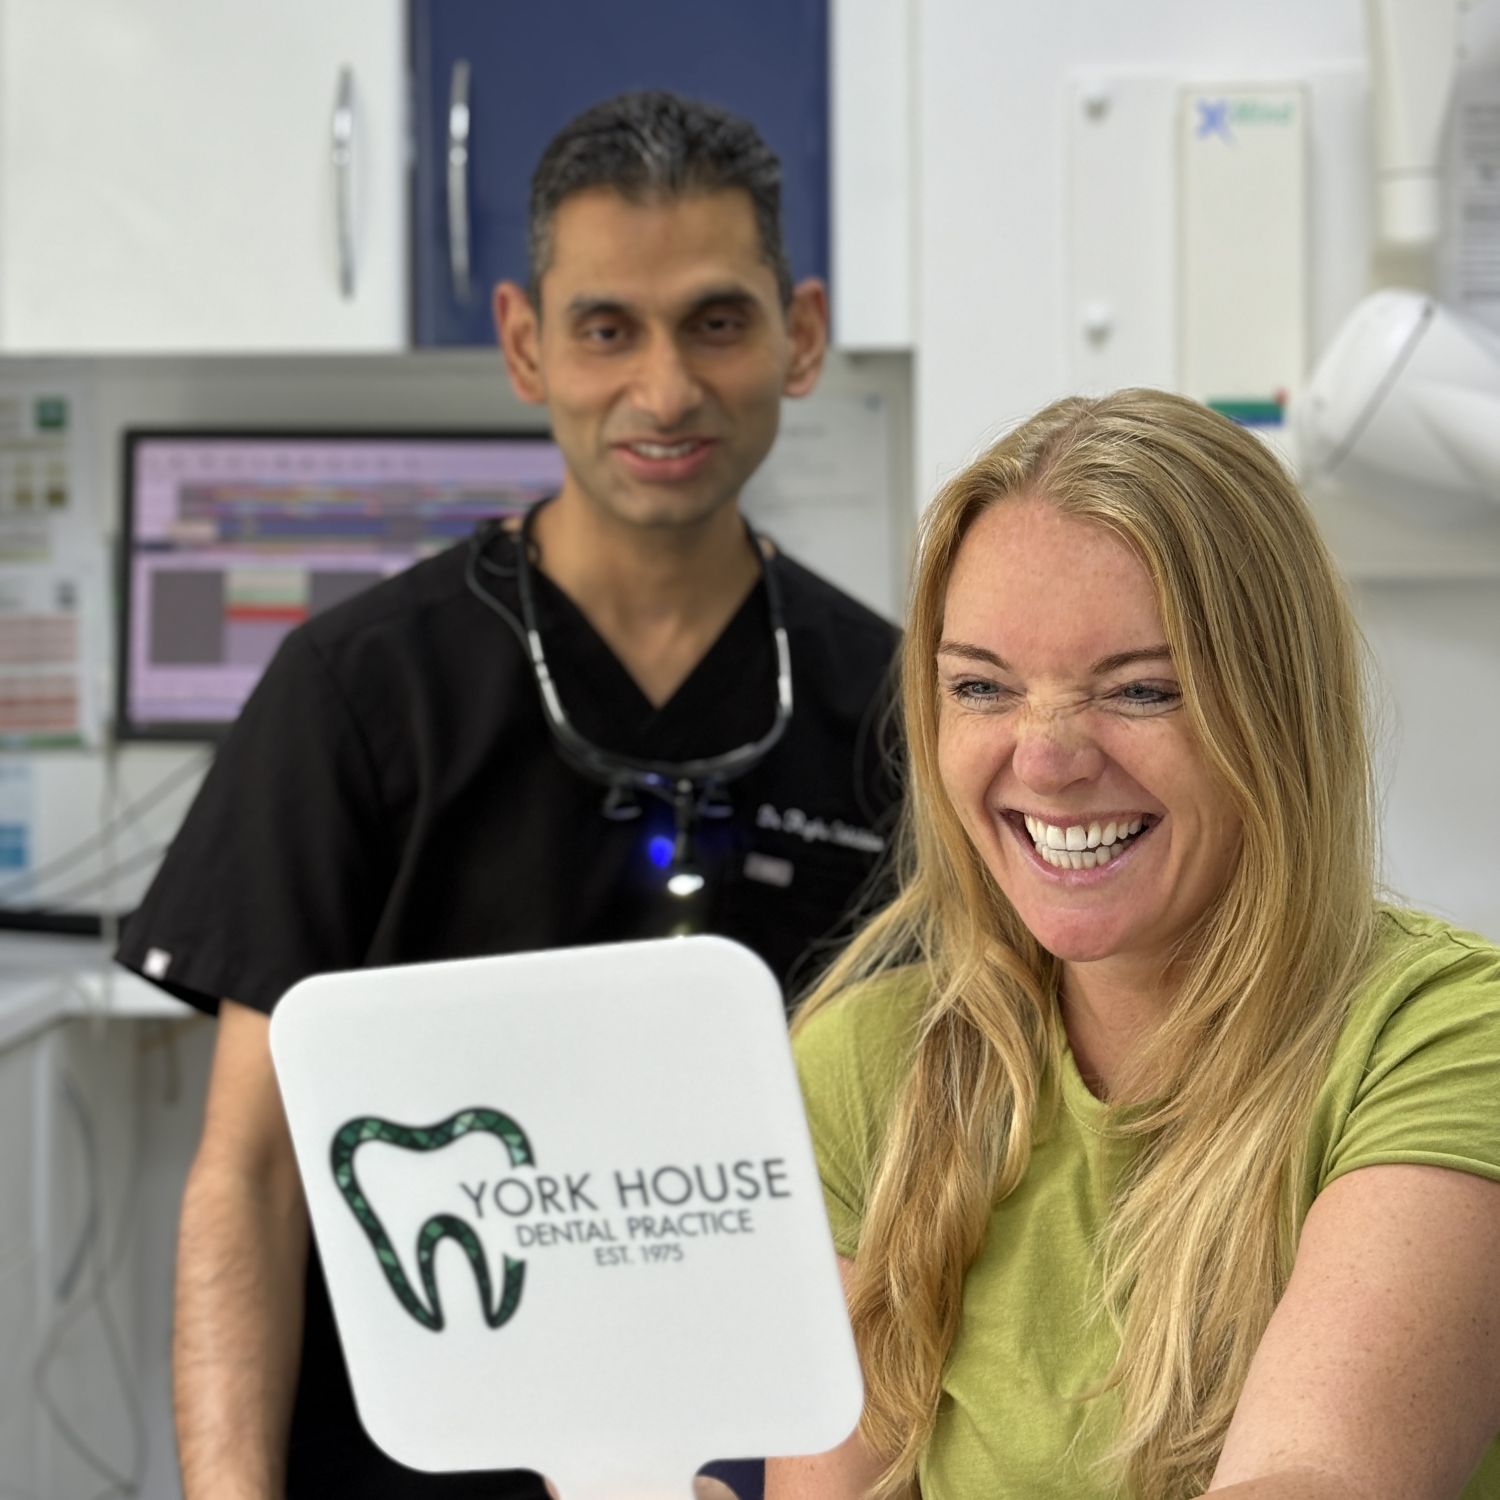

Five Decades of Trust
Since the 1970s, we've been West Byfleet's trusted dental practice — building lasting relationships with generations of Surrey families.
Third-generation family dental practice providing advanced, compassionate care for you and your family for over 50 years.
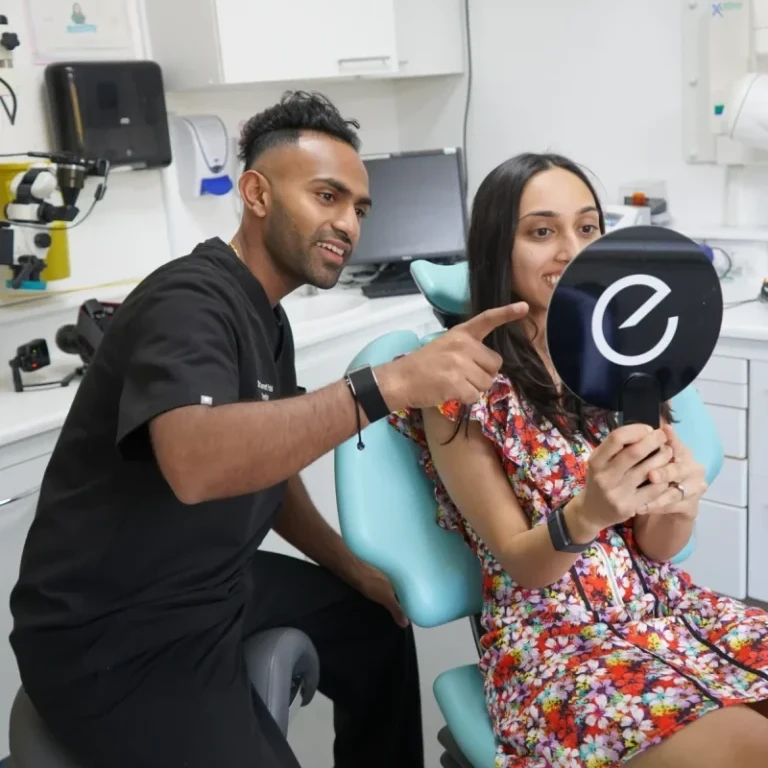
Step inside York House Dental Practice and meet Dr. Kaveet Patel — Principal Dentist and the third generation continuing nearly five decades of trusted care in West Byfleet. From your first hello to your final smile, every detail is considered.
From routine check-ups to life-changing smile transformations, our team blends modern techniques with a gentle, patient-first approach.

Permanent, natural-looking tooth replacement with a 99% success rate — restoring full function and confidence.
Read more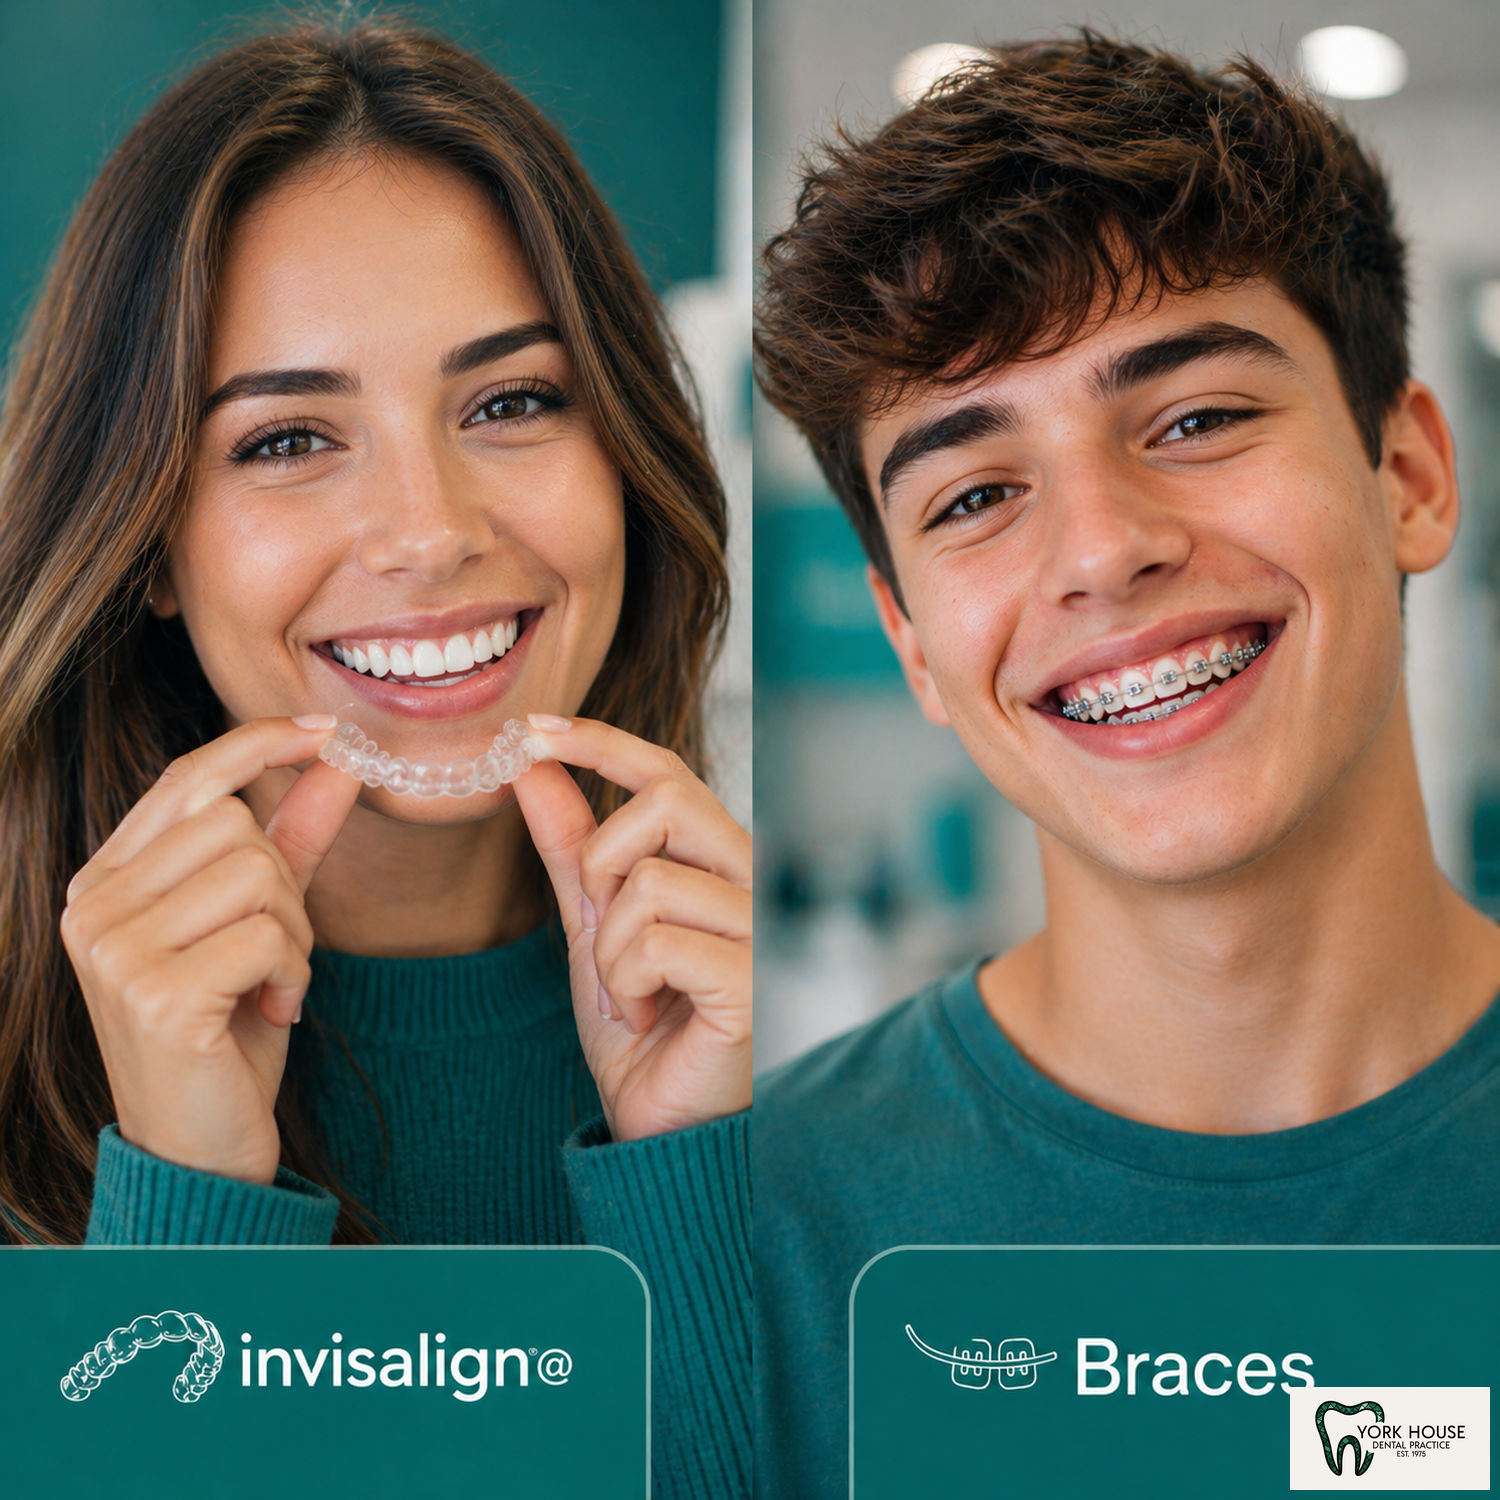
Discreet orthodontics — straighten teeth without compromising your professional appearance.
Read more
Personalised cosmetic transformations combining the best of restorative and aesthetic dentistry.
Read more
Expert endodontic care that saves your natural tooth and eliminates pain — gentle and precise.
Read more
Professional brightening up to 8 shades lighter — visibly lasting results in a single visit.
Read more
Preventative care and professional cleaning to keep your teeth and gums healthy for life.
Read more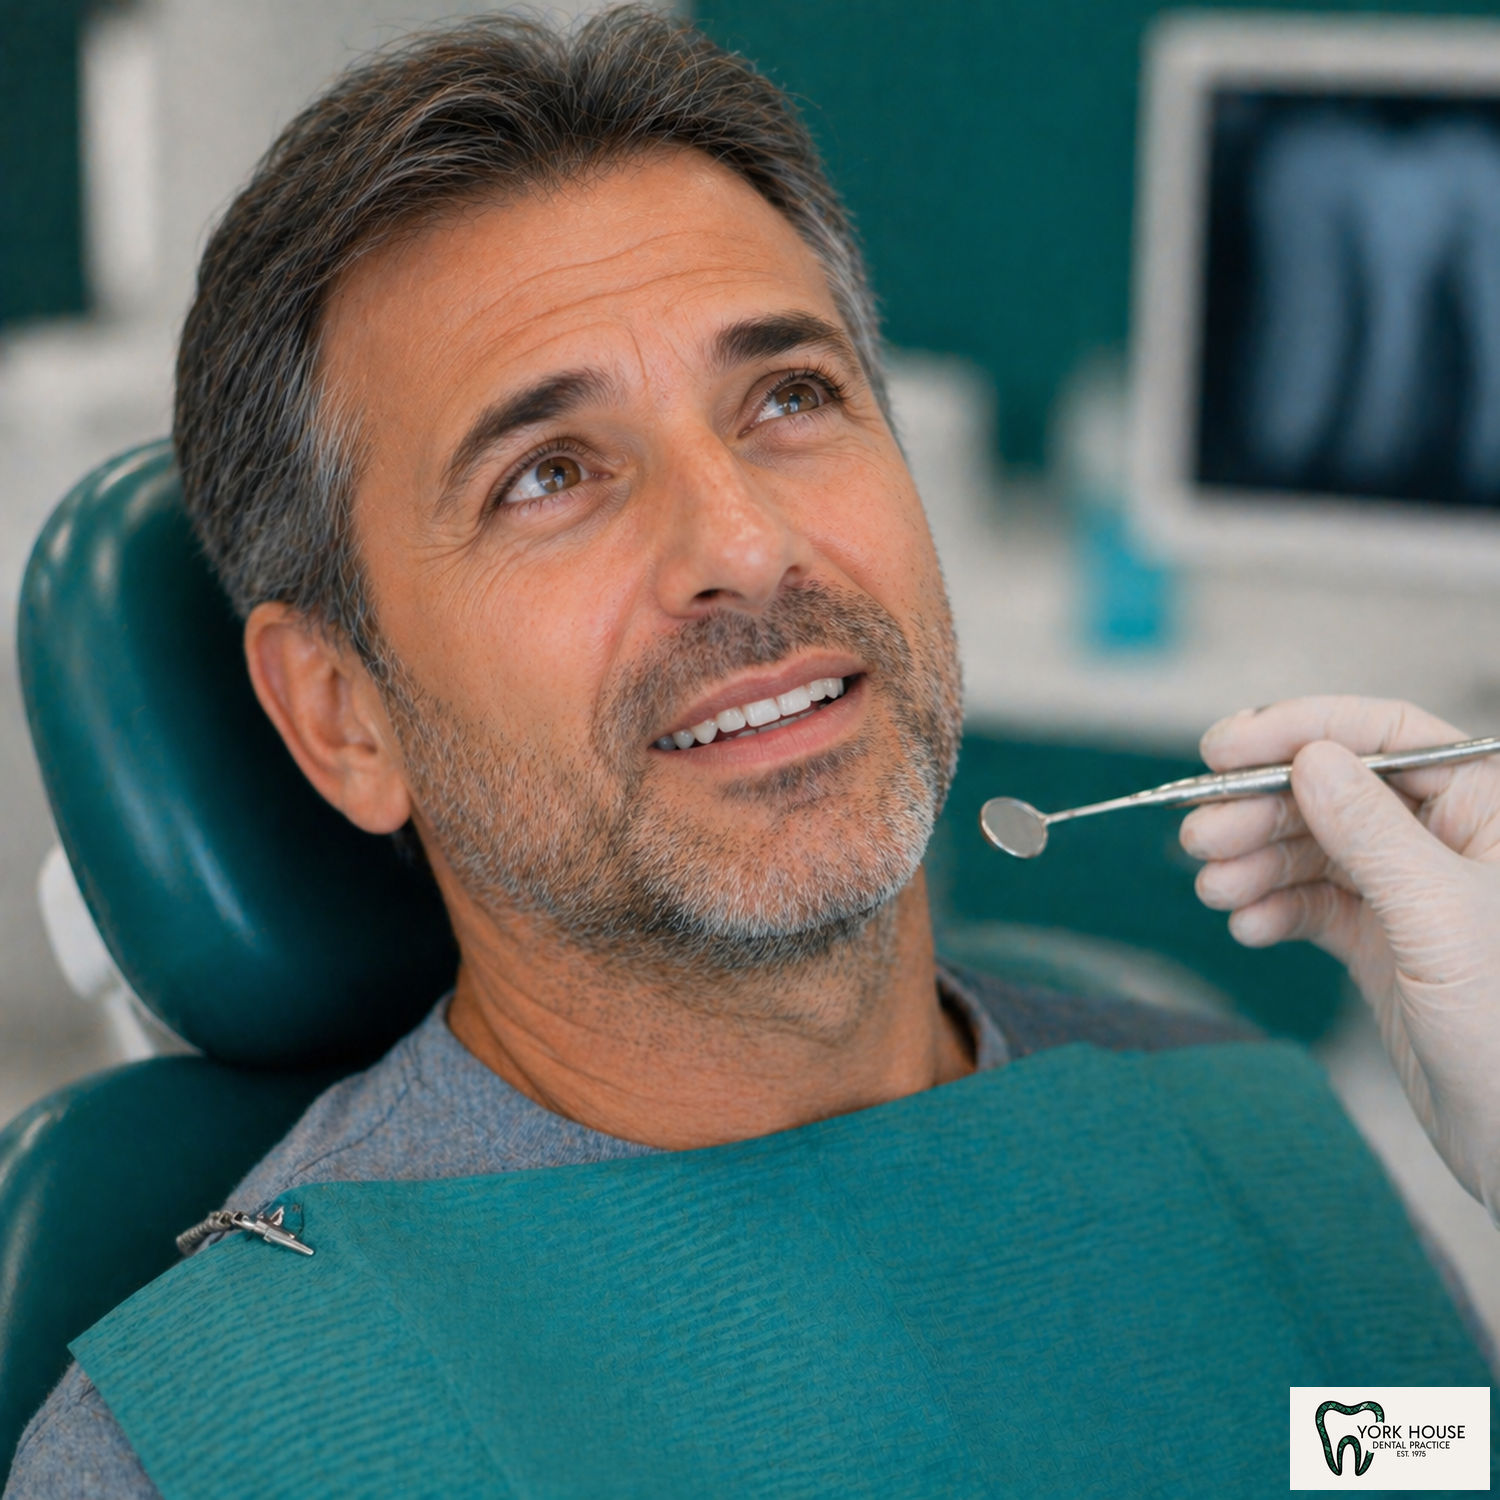
Prompt, compassionate care when you need it most. We prioritize urgent appointments to alleviate pain fast.
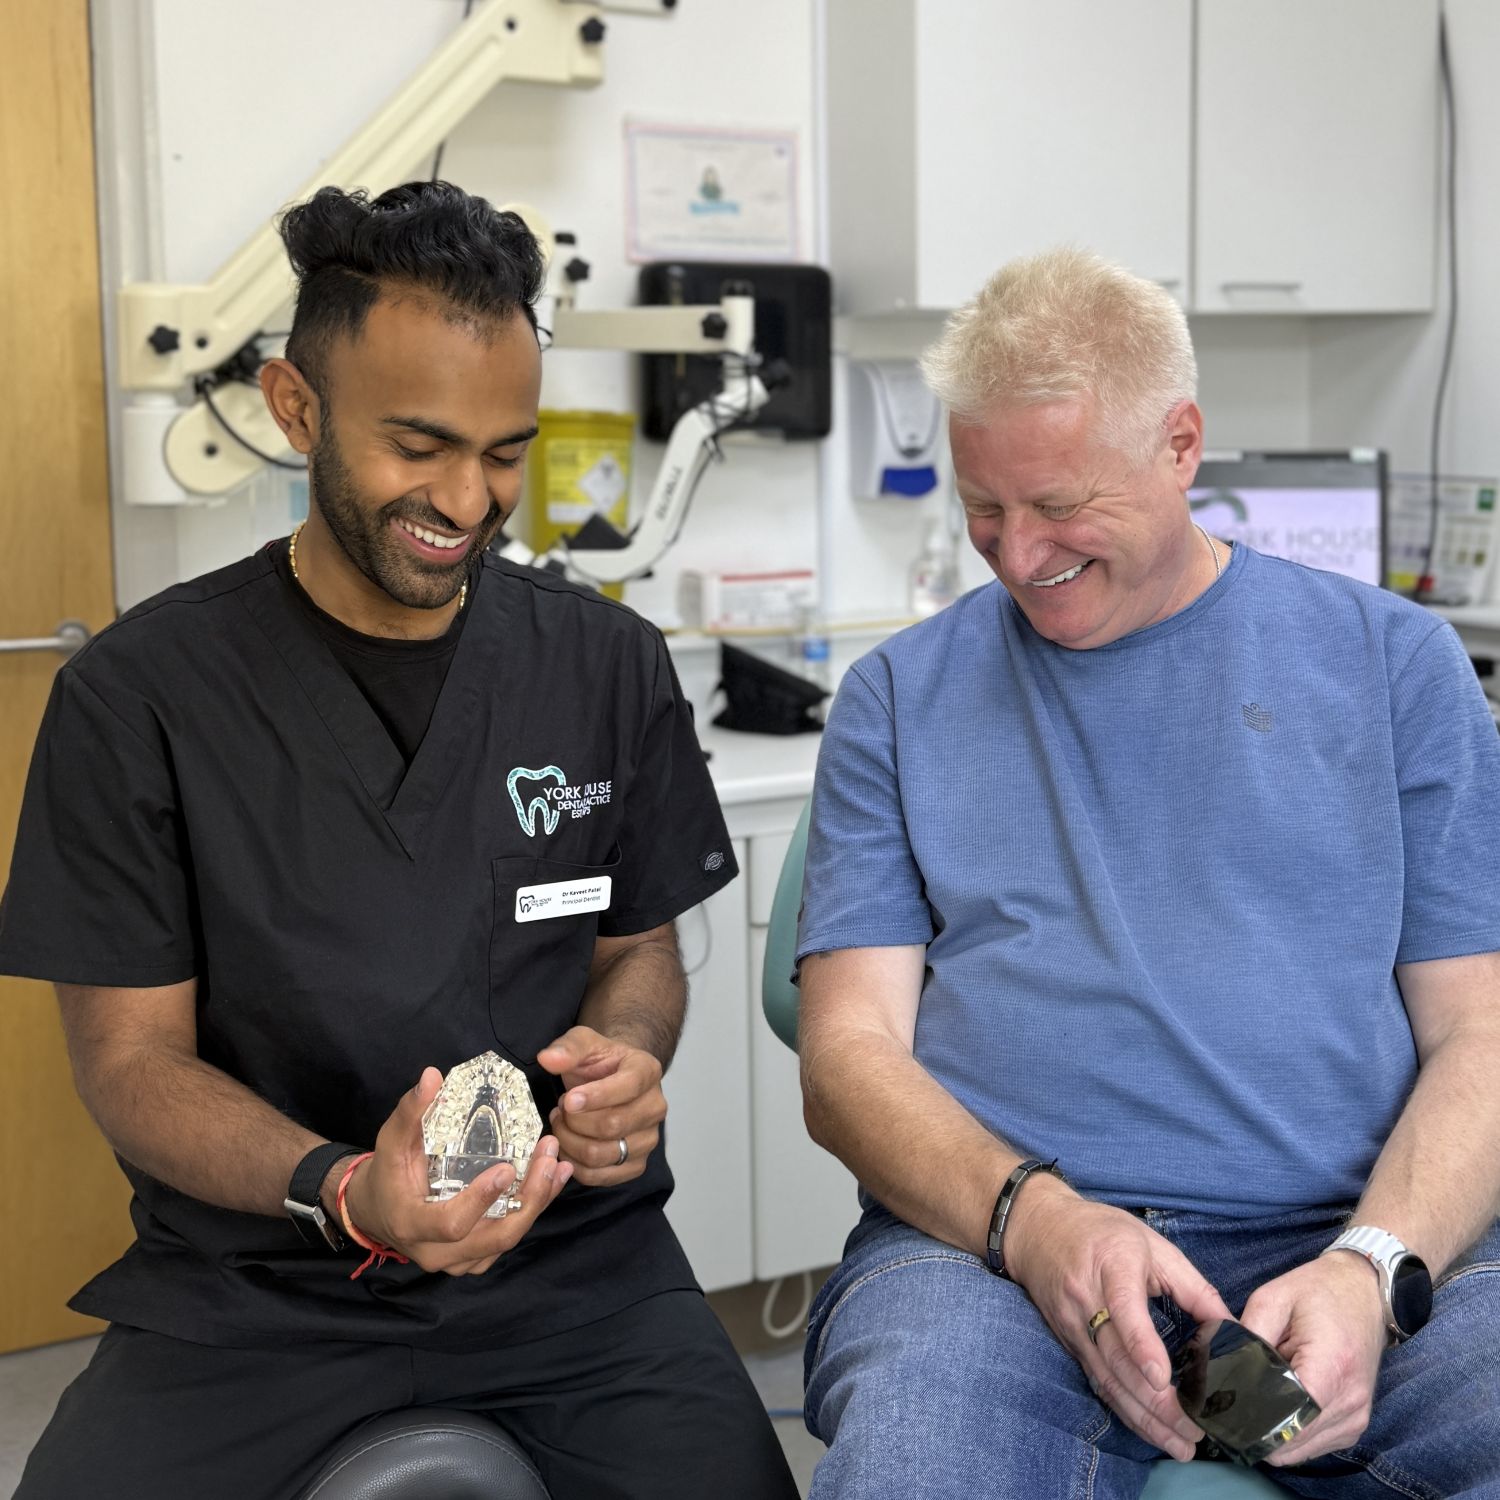
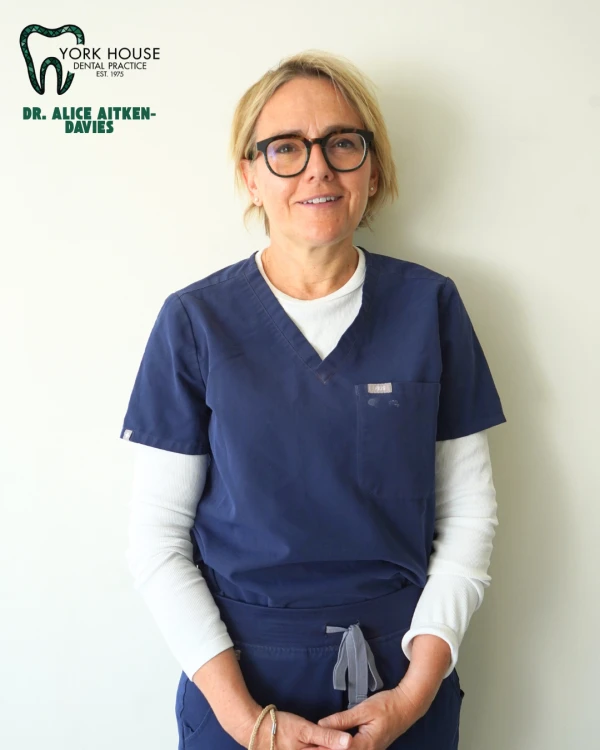
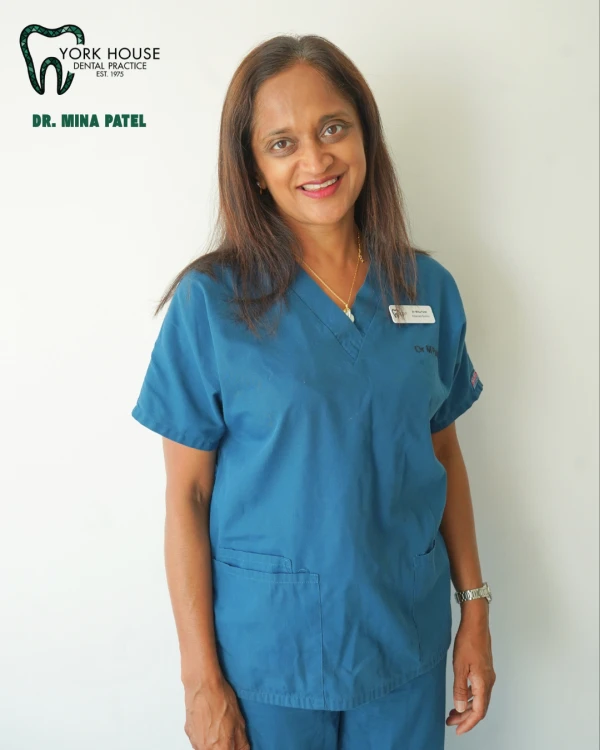
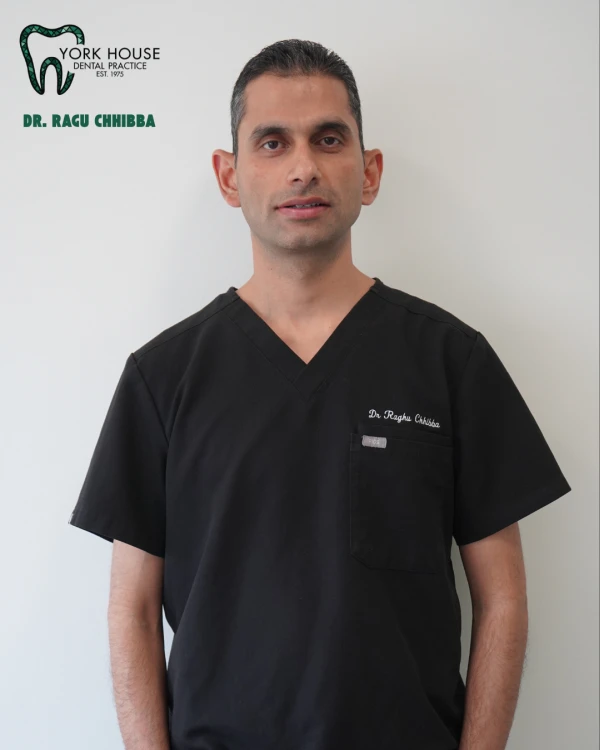
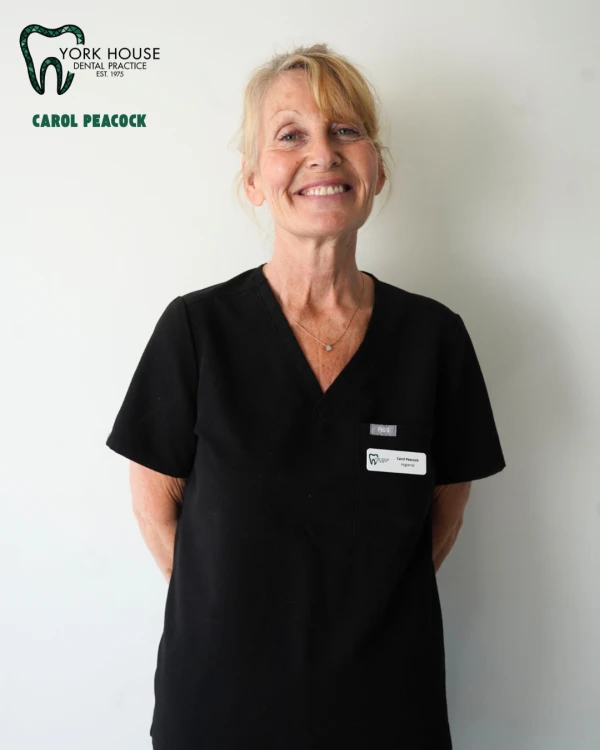
Read moreMeet the dedicated professionals at York House Dental Practice. Our team combines extensive experience with a compassionate approach to ensure your comfort and well-being.

Care that puts the patient first — every appointment, every smile.
We've been part of the West Byfleet community for nearly fifty years. Every patient who walks through our door is treated with the dignity, time and expertise they deserve — that's the York House standard.
Learn our storySince the 1970s, we've been West Byfleet's trusted dental practice — building lasting relationships with generations of Surrey families.
Six highly qualified professionals — principal dentists, associates and a dedicated hygienist, all GDC-registered.
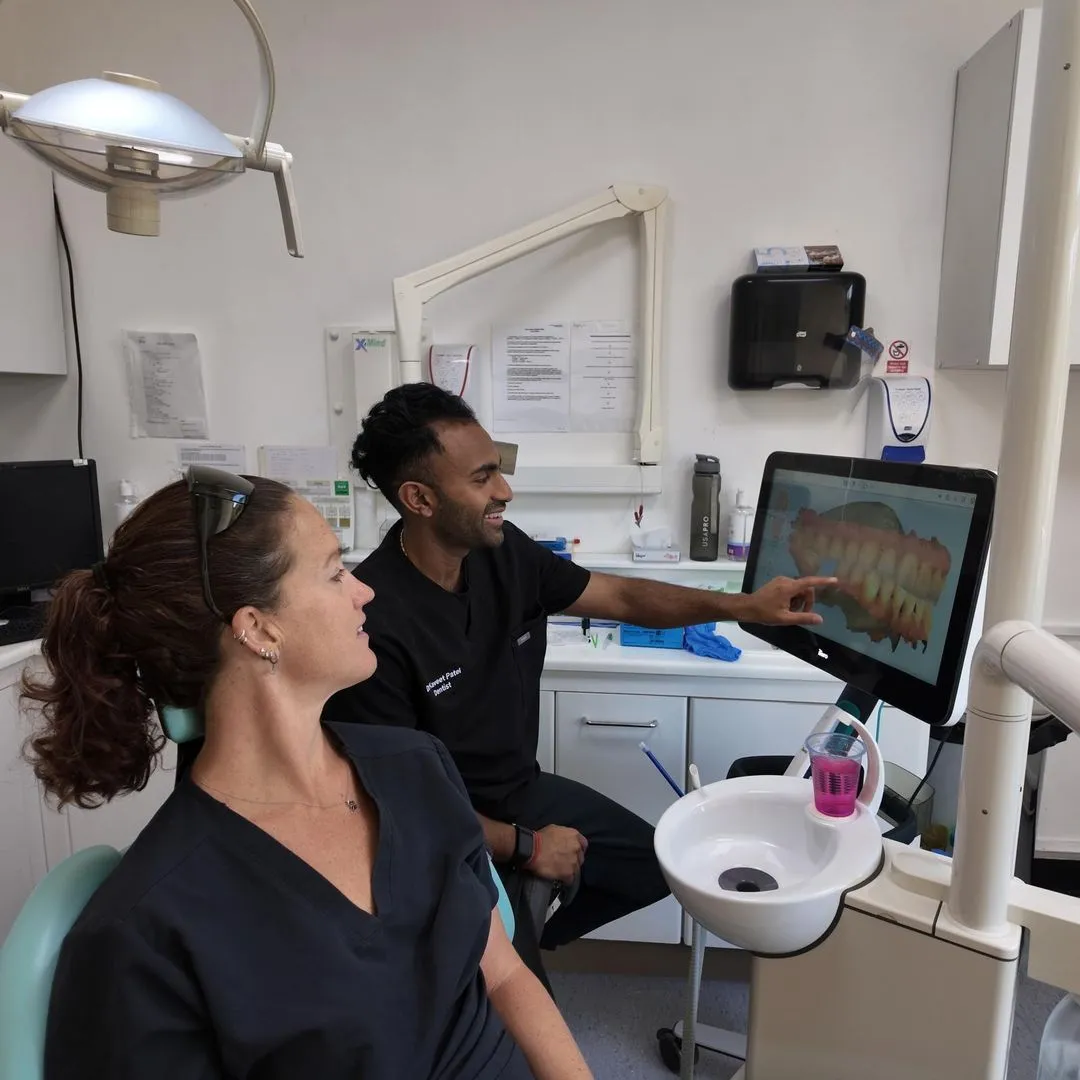
Digital X-rays, intraoral cameras and precision implant planning ensure accurate diagnosis and comfortable treatment every visit.
Anxious about the dentist? We listen, we adapt, we go gently. A calm, welcoming environment for every patient.
Ground-floor practice, wheelchair accessible, with parking and public transport nearby. Quality dental care made accessible.
Dental emergencies don't wait. We offer same-day appointments for urgent care — relief when you need it most.